Build a PLG Template (screenshots)
To save time and to increase consistency in the way that that your PLGs are structured you can create a Template.
It is important to remember that there is not one correct way to set up a PLG. The key thing is that you structure your PLGs in a way that will work best for your Learners and Educational setting.
The guide demonstrates how to create a Template it is not intended to direct you to structure your PLGs in a specific way.
There is also recording of an EfL Online Workshop - "Create a PLG (a framework with a set of individualised outcomes for 1 Learner) using the Web Console" available.
This EfL Online Workshop includes:
- Examples of how other schools have structured their PLGs.
- Create a template to be used when creating a PLG.
- Use the template to create a PLG.
- Question and Answer session.
Build a PLG Template (screenshots):
Here are the steps to Access the PLG Manager Screen:
- 1
-
Go to your Web Evidence Console login page:
https://web.evidenceforlearning.net/efl/login/
NB: If you have not yet set up the Web Console for your school please see this set of articles in the EfL Resource Centre (https://resources.evidenceforlearning.net/category/199-setup-your-web-evidence-console)
- 2
-
Enter your schools "domain" in the 1st box and in the 2nd and 3rd box enter your unique Username and Password (the same as you use to enter into the assessment area of the App).
NB: For quicker access, use your school's customised URL: https://web.evidenceforlearning.net/efl/login/"yourschoolsdomain"
To find out your schools domain please see this article: How do I find out my school's domain?
- 3
-
Once logged into the Web Console, Tap/Click
Admin (top right) and then Tap/Click
PLG Manager.
See below...

- 4
-
You will now be on the Manage PLGs screen.
See below...

Here are the steps to create a Template:
- 1
- Access the Manage PLG Screen (steps above).
- 2
-
Tap/Click
Create a New PLG (top right)
See below...

- 3
-
Enter in the
Title and you can start to
add the Framework Headings (you can always edit or add more headings/sub-heading later).
The title is not significant as you will not complete creating the PLG and you will name the template at a later stage in the process.
Tap/Click Create (bottom right).
See below...

- 4
-
You will now be on the PLG Setting screen.
As you are not going to complete creating the PLG you can go straight to start to make the Template by Tapping/Clicking Edit PLG Items.
See below...

- 5
-
You will now be on the Editor Screen.
To add your first sub-heading, long-term goal or outcome, Tap/Click the + (right side).
See below...

- 6
-
Ensure that the Enable Evidence Capture is switched off if you don't want to be able to link Evidence to the item.
In this example, I have chosen to not link evidence to the long-term goal.
I have typed in 'LTG' and when the template is being used to create a PLG, the user will delete 'LTG' and type or paste in the actual Long Term Goal for the Learner.
Tap/Click Add.
See below...

- 7
-
Tap + to the right of the item that you have just added.
See below...

- 8
-
Ensure that the Enable Evidence Capture is switched off if you don't want to be able to link Evidence to the item.
In this example, I have chosen to add the term and year and I don't want to be able link evidence to this item.
Tap/Click Add.
See below...

- 9
-
Tap
+ to the right of the item you have just added.
See below...

- 10
-
Ensure that the Enable Evidence Capture is switched on if you want to be able to link Evidence to the item.
In this example, I have chosen to link evidence to the short-term goal.
I have typed in 'STG' and when the template is being used to create a PLG, the user will delete 'STG' and type or paste in the actual Short-Term Goal for the Learner.
Tap/Click Add.
See below...

- 11
-
The first part of the template is now complete.
See below...

I may choose now to repeat the above process to add in a 2nd LTG within the Cognition and Learning Section or now move on to the Communication and Interaction section of the PLG.
To save time you can duplicate items and then move items to the relevant place to build out the template. These and other buttons are explained below.


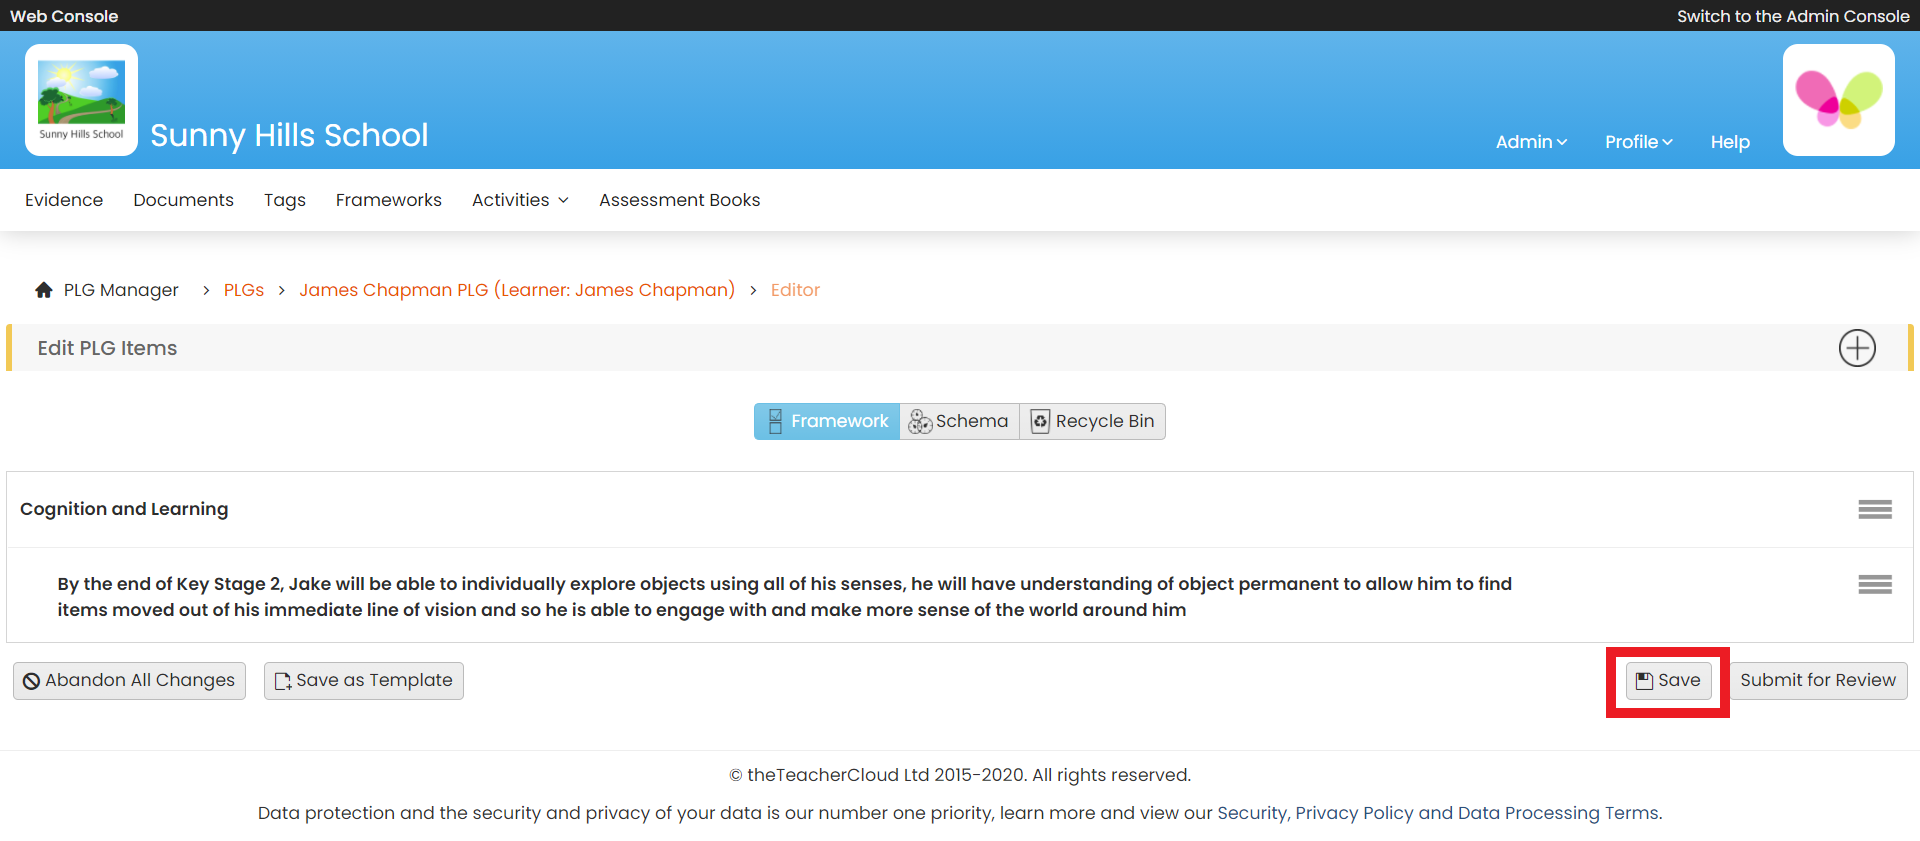
SAVE AS YOU GO
As the Web Console is a secure Web Site with access to confidential and sensitive data, you will get timed out after a period of time of inactivity.
Therefore, we recommend that as you create the PLG, you Save your work as you go and then if you do get timed out of the Web Console, you can continue from when you last Saved your work.
To Save the changes you have already made Tap Save (bottom right).
See below...
Here are some other button that you may find useful when creating a Template
Edit an item:
- 1
- Tap on the item that you want to edit and then Tap the Pencil Icon:
-
See below...

- 2
- Edit the item and then Tap Save.
Duplicate an item:
Tap on the item that you want to duplicate and then Tap the copy icon.
See below...

Change how an item is indented:
Tap on the item and then use the left and the right arrows to change how it is indented.
See below...

Change the order of items:
Tap on the item that you want to move and then Tap and hold the handle to the right. You can now move the item and release to place it.
See below...

Delete an item:
Tap on the item that you want to delete and then Tap/Click the Bin icon.
See below...

Save as Template
- 1
-
When you have completed creating the template, Tap/Click
Save as Template (bottom left).
See below...

- 2
-
Create the Template:
Name the Template
Choose whether to Lock top level Headings. If you lock them then users will not be able to edit or move the top level headings.
Choose to restrict the schema so that users when using the template can only select one specific schema to use when creating the PLG.
Tap/Click Create (bottom right)
See below...

- 3
-
A message confirming that the Framework has been saved as a template is displayed (top right).
Tap/Click PLG Manager (top left) to return to the PLG Manager screen
See below...


Other Guides that you may find useful...
How to use a Template to create a PLG (guide coming soon).
Can I edit a Template? (guide coming soon).