Use a PLG Template (screenshots)
This guide demonstrates how to use a Template to create a PLG.
There is a specific guide that is dedicated to creating a template and here is a link to that guide - Create a Template to be used when creating a PLG
Here are the steps to Access the PLG Manager Screen:
- 1
-
Go to your Web Evidence Console login page:
https://web.evidenceforlearning.net/efl/login/
NB: If you have not yet set up the Web Console for your school please see this set of articles in the EfL Resource Centre (https://resources.evidenceforlearning.net/category/199-setup-your-web-evidence-console)
- 2
-
Enter your schools "domain" in the 1st box and in the 2nd and 3rd box enter your unique Username and Password (the same as you use to enter into the assessment area of the App).
NB: For quicker access, use your school's customised URL: https://web.evidenceforlearning.net/efl/login/"yourschoolsdomain"
To find out your schools domain please see this article: How do I find out my school's domain?
- 3
-
Once logged into the Web Console, Tap/Click Admin (top right) and then Tap/Click PLG Manager.
See below...

- 4
-
You will now be on the Manage PLGs screen.
See below...


Here are the steps to create a PLG:
- 1
- Access the Manage PLG Screen (steps above).
- 2
-
Tap/Click Create a New PLG (top right)
See below...

- 3
- Enter in the Title/name of the PLG and Tap/Click on Use a Template.
-
Tap on the
name of the Template that you want to use (once selected it will become blue).
Tap/Click Create (bottom right)
See below...
-

- 4
- You will now be on the PLG Setting screen.
-
The person creating the PLG is automatically set to be the Owner.
Assessment Managers or an Assessment User who is also the owner of the PLG can submit changes to a PLG Framework, including adding new outcomes or changing a schema/continuum used for Assessment.
To change the Owner of the PLG, Tap Click the drop down arrow to the right of Owner and select the new owner.
See below...

- 5
-
Set the Framework and the Assessment Book live.
Tap/Click the drop down arrow to the right of Framework and Tap/Click Live.
Tap/Click the d rop down arrow to the right of Assessment Book and set it Live.
Once you make a change to any of the settings of the PLG, they are automatically Saved and a green success message is displayed.
See below...

- 6
- Start to type the Learner's name in the Learner's box and then select the Learner.
-
Alternatively, Tap/Click the drop down arrow to the right of Learner and select the Learner.
- 7
- Tap Edit PLG Items (top right).
-
See below...

- 8
- You will now be on the Editor Screen.
-
The structure of the PLG will depend on the Template that you are using.
-
There may be items that you need to Edit, add and/or delete.


Here are some other buttons that you may find useful when creating a PLG
Edit an item:
- 1
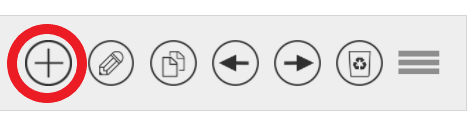
- Tap on the item that you want to edit and then Tap the Pencil Icon:
-
See below...

- 2
- Edit the item and then Tap Save.

Add a new heading/sub-heading or an item that you don't want to link evidence to:
- 1
- Tap on the item above where you would like to add the new item and tap on the + Icon.
-
See below...
- 2
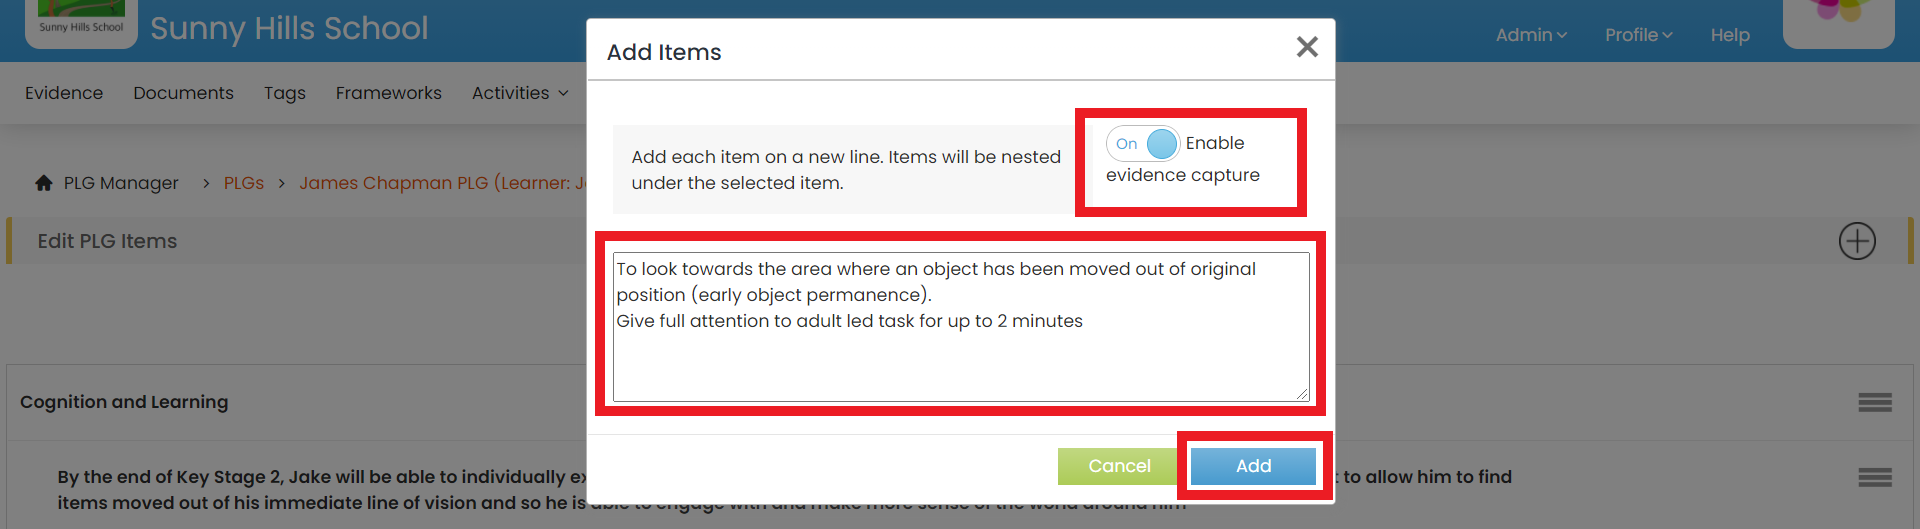
- Write in the new heading/sub-heading or item and as we don't want to link evidence to this item ensure that Enable Evidence Capture is switched off and Tap/Click Add.
-
See below..


Add a new outcome:
-
1
-
Tap on the item above where you would like to add a new heading and tap on the + Icon.
-
See below...
-
-
2
-
Write in the new outcome and if you want to be able to capture evidence and link evidence to it, then ensure that Enable Evidence Capture is switched on.
-
See below..
See below...

See below..

Edit an item:
- 1
- Tap on the item that you want to edit and then Tap the Pencil Icon:
-
See below...
- 2
- Edit the item and then Tap Save.
Duplicate an item:
Tap on the item that you want to duplicate and then Tap the copy icon.
See below...

Change how an item is indented:
Tap on the item and then use the left and the right arrows to change how it is indented.
See below...

Change the order of items:
Tap on the item that you want to move and then Tap and hold the handle to the right. You can now move the item and release to place it.
See below...

Delete an item:
Tap on the item that you want to delete and then Tap/Click the Bin icon.
See below...

Here are the steps to add a schema/continuum to assess progress against items within the PLG
- 1
- Once you have added all the items to the PLG you can choose to add a schema/continuum (that has already been created and is in your Cloud).
- 2
-
Tap/Click Schema.
See below...

- 3
- Tap/Click Choose Schema to the right of the item that you would like to add a schema or continuum to.
-
See below...

- 4
- If the Schema has been fixed within the Template when you Tap/Click Choose Schema the fixed schmea will be added to the item.
- Alternatively, if the Schema has not been fixed within the Template, you will need to select the Schema and Tap/Click Add.
-
- 5
- Repeat the Process to add a Schema to all the items that you want to.
- 6
-
If you want to return to the Framework Tap/Click Framework (middle).
See below...


Here are the steps to submit the PLG for Review
Once you have completed creating the PLG you can submit it for review:
- 1
- Tap/Click Submit for Review (bottom right).
- 2
-
You can choose to enter in a reason that and then Tap/Click Submit and then Review.
- 3
-
The changes will now be pending until the Assessment Manager approves the Changes
- 4
- When you submit PLG for review you're able to see 2 copies of the PLG the current version (top middle) and the proposed version awaiting review. All new items or changes are highlighted in red
- 5
- If you are the Assessment Manager, you can approve the changes by Tapping/Clicking Approve and then confirming this by Tapping/Clicking Approve and then OK.
- If you are not an Assessment User, then you will need to wait for the Assessment Manger to approve your changes.
Once the changes are approved, you can then add the Framework to a device so that you use it to link Evidence to.
Here is the relevant link to the guide that shows you how to add a Framework to an iOS Device.
Here is the relevant link to the guide that shows you how to add a Framework to an Android Device.