STEP 1: Create EfL Users
You can create staff members as EfL Users.
EfL Users can be given permission to access the Assessment Area of the App as well as the Web Console, the browser version of the Evidence for Learning App.
The Web Console can also be used along side the App to Capture and Review Evidence.
EfL Users can access the Web Console to create a PLG (Personal Learning Goals), these are individualised Frameworks linked to a single Learner.
An EfL User can either be set up as an Assessment User or an Assessment Manager.
Assessment Users can create a new PLG and make changes to specific PLGs (if they are the owner) and the PLG and any subsequent changes will need to be approved by an Assessment Manager.
Assessments Users can be given permission to access specific Assessment Books. Assessment Managers automatically have access to ALL Assessment Books.
Here are the steps to create an EfL User (school):
1. On a computer, login to the Web Console.
2. Hover over Admin (top right) and Click User Manager.
-
See below...

3. Click Add New (top right).
-
See below...

4. Enter the new users First Name, Last Name, Role (optional) and their Email Address (access instructions will be sent to this email address).
5. Create and enter a Username.
See Example below...

6. Set the permission that you want the user to have. A tick will indicate that it has been selected. See below for information on each permission.
Web Console Access: This gives users permission to access the Web Console.
The Web Console is the Browser version of the EfL School App where you can:
- Capture and Review Evidence
- Create, Edit & Manager PLGs
- Access & Manage Assessment Books (PLGs & Non PLGs)
- Create and Manage PDF documents etc
- Set up and Use EfL Forms
Form User: Form User can be given permission to Create, Read & Write Forms. They can also be granted permission to Approve Form Changes for Learners.
Admin Console / Area Access: This gives users permission to access the Admin Console / Area. This is where you add Learners, Groups / Classes, Frameworks, Tags, Date Ranges, Comment Templates, Indicators, etc. It is also where you can manage and QuickPair your devices.
Assessment Manager: Assessment Managers automatically have access to ALL Assessment Books. They can also Edit and Approve changes to ALL PLGs. If they have Admin Console Access they can also Edit and Approve changes to All Frameworks.
Insights Manager (For Schools using Insights for Learning): Insights Managers are administrators who can configure and manage Insights for Learning
Form Manager: Form Managers can Create and Manage Form Templates
Activities Manager: Activity Managers can determine if and how a school shares Activities with the EfL Framework Library.
7. Click Save (bottom left).
You can repeat Steps 3 - 7 to add other new Users and then move to step 8 to send them their invitation to set up their login.
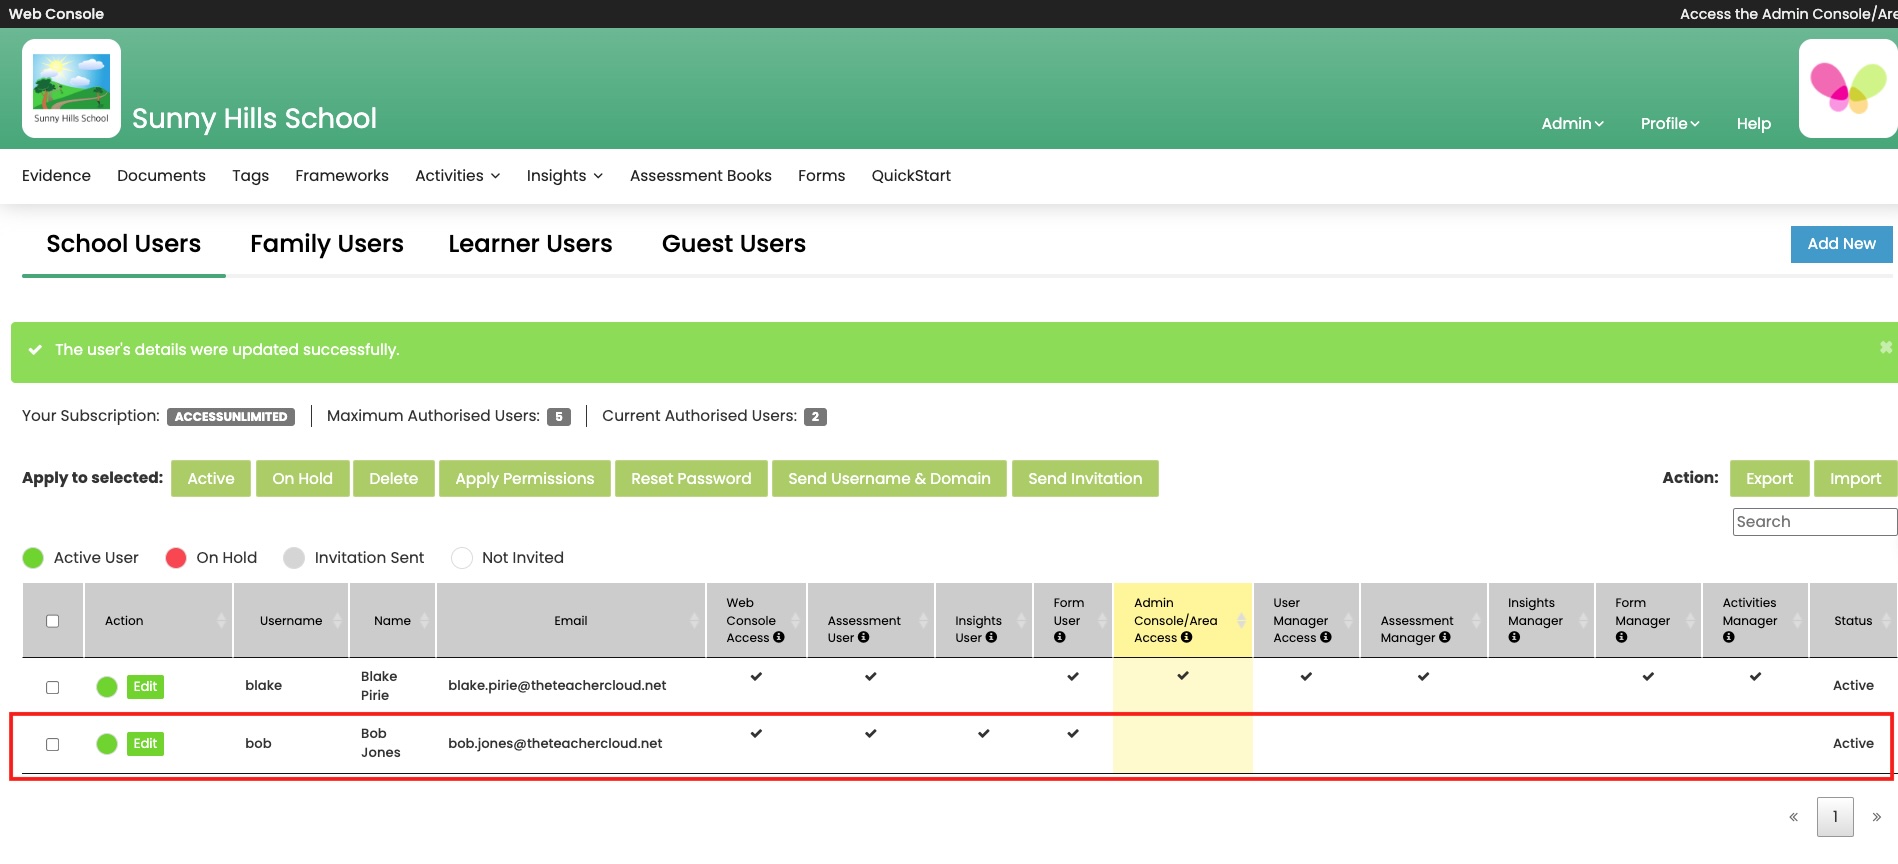
Below you can see that:
- Bob Jones has been added as new EfL User
- The white circle to the left of his username indicates that he has no yet been invited to complete the process of setting up a Login.
See Below...
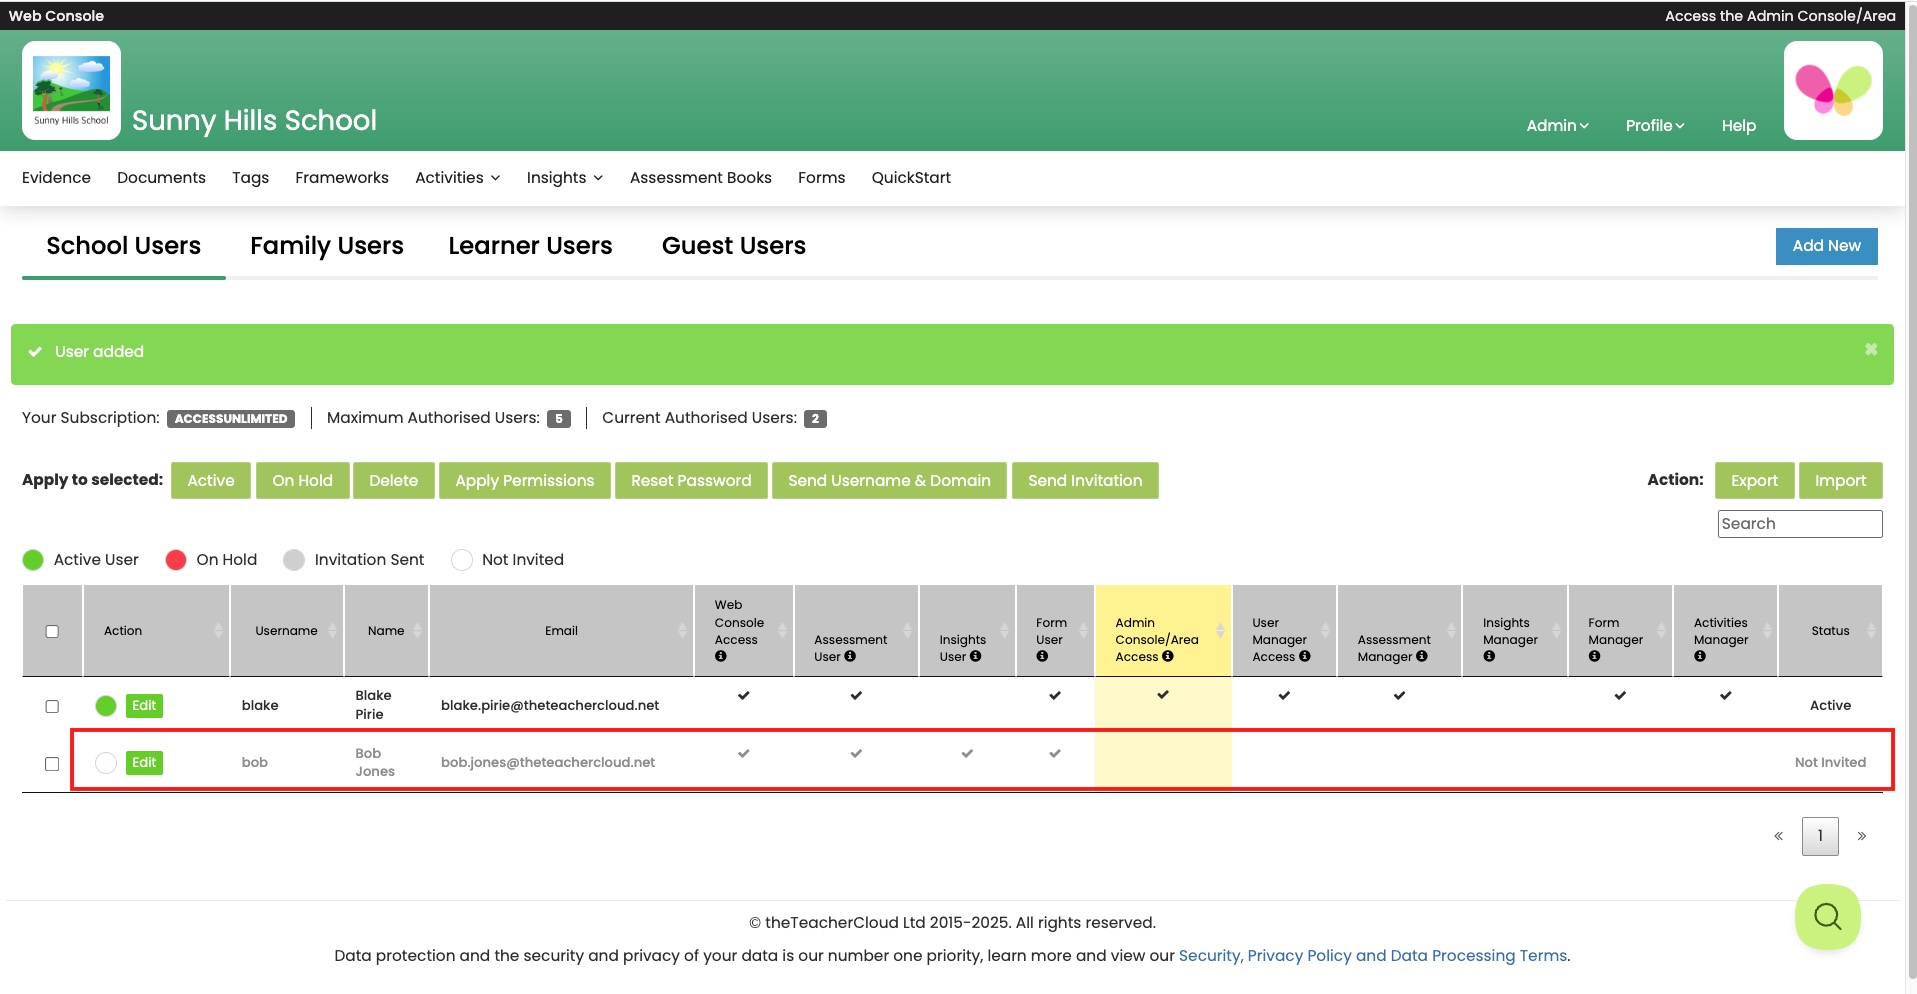
8. To send the new user/s an Invitation, Click to the left of their Username (a tick indicates that they have been selected) and then Click Send Invitation.
See below...

9. To Confirm Click Send Invitation
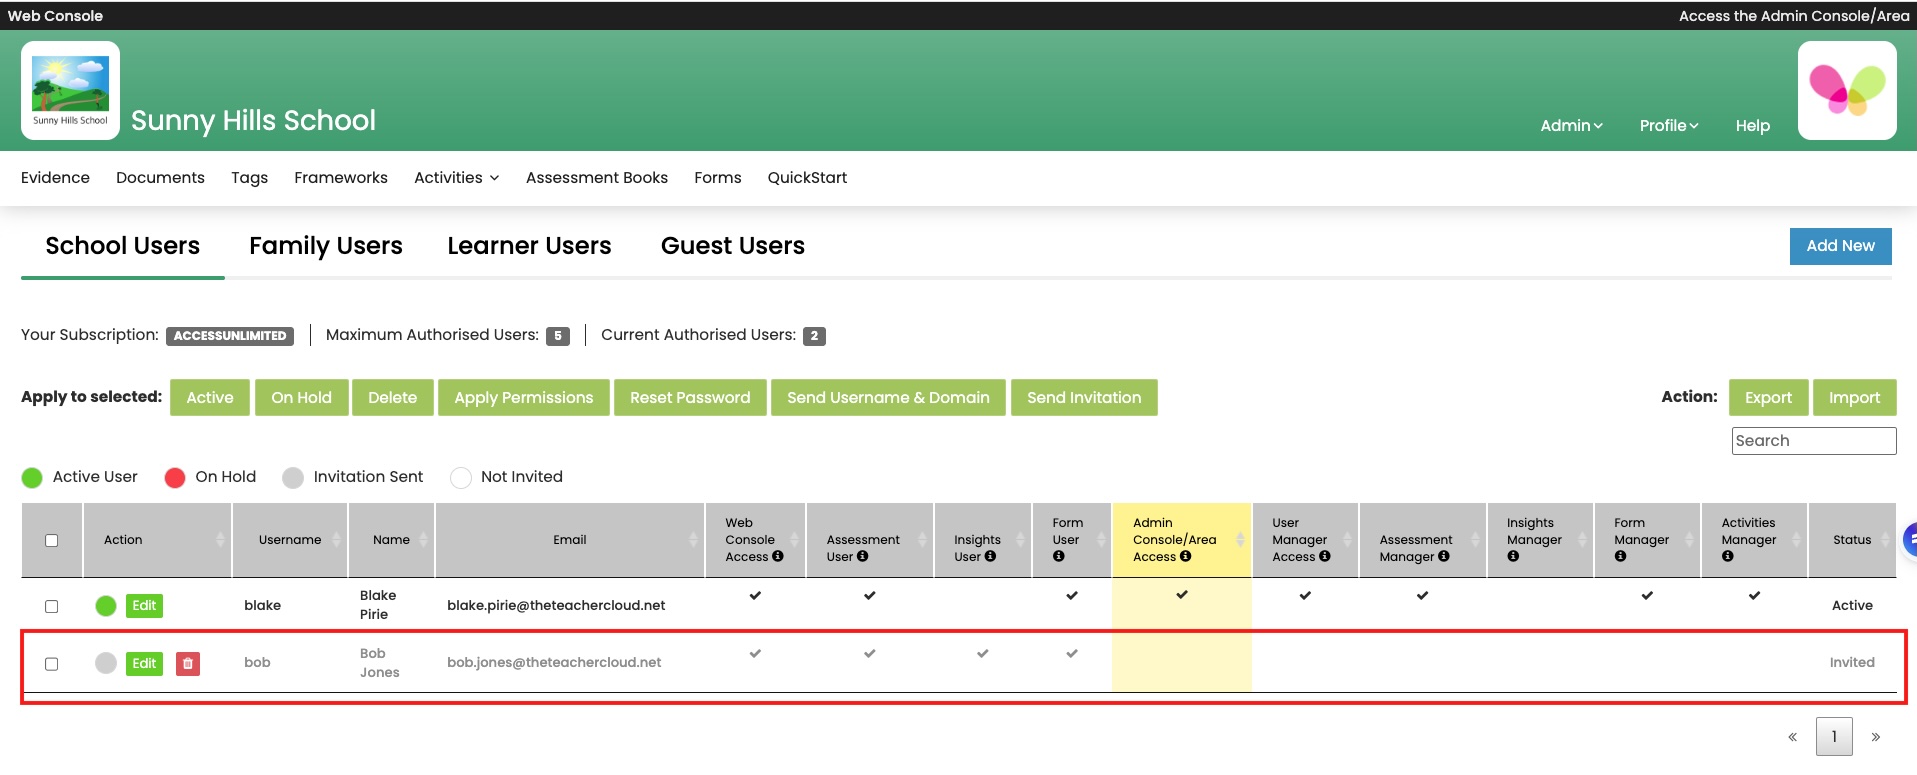
10.
- Bob Jones has now been invited to Set up their Login
- The Grey Circle to the left of his Username indicates that the Invitation has been sent.
See Below...
- The new EfL User (s) has been sent an email that contains a link to set up their Password.
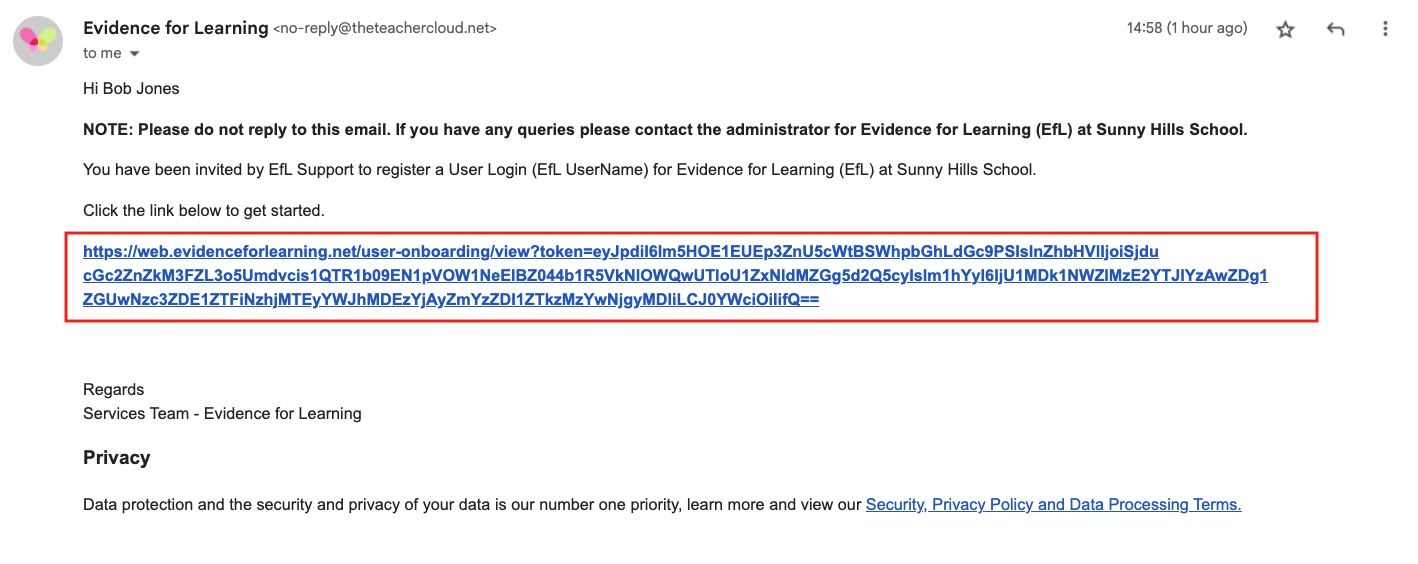
- Once, they have set up their Password, for security they will also be emailed a one time password to verify their email address.
- When the new EfL User has successfully set up their password, verified their email address they will then be an Active EfL User.
They will then be displayed on the User Manager Screen as an Active User with a Green Circle to the left of their UserName.
See Below...